
Why every button needs this resistor
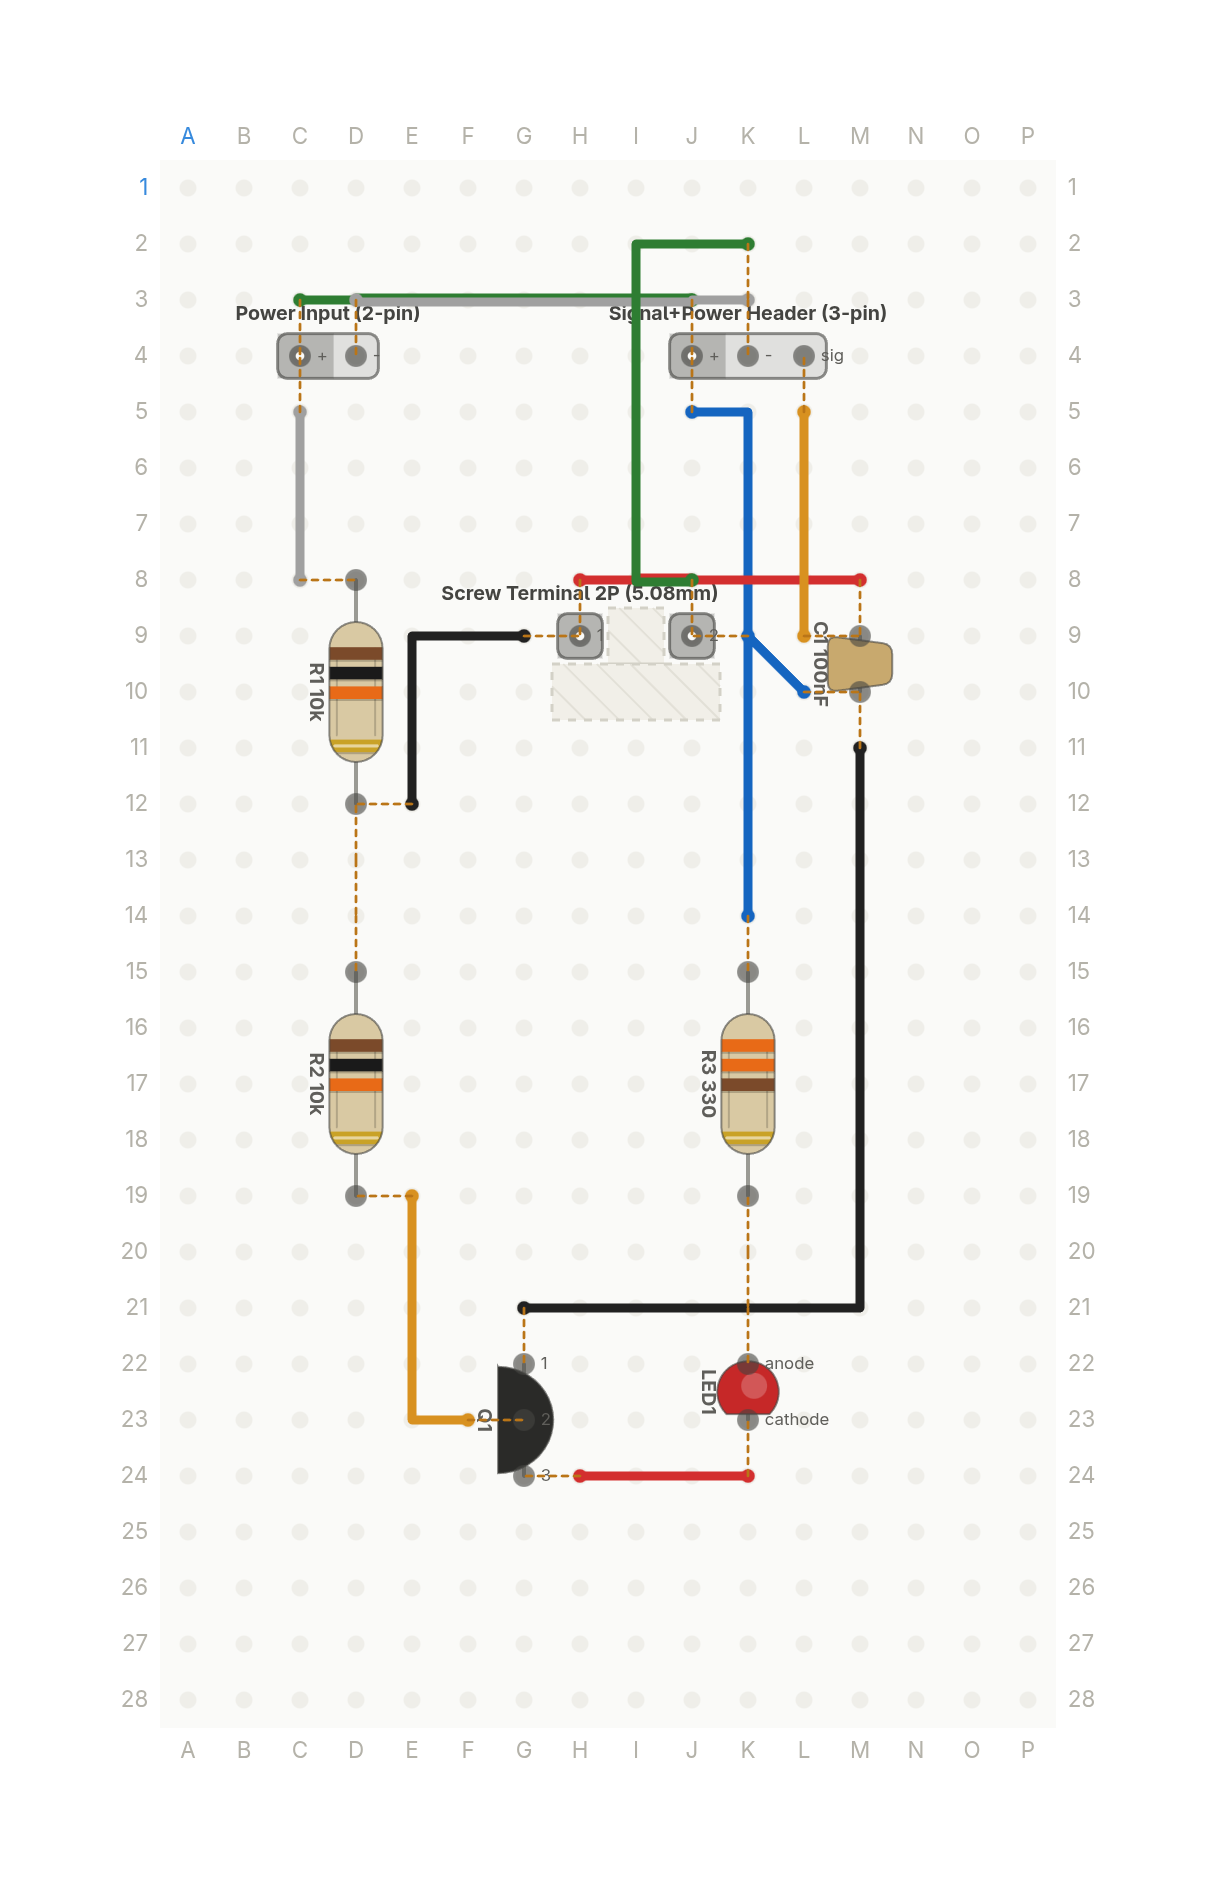
Why a button input needs a pull-up: a 10k resistor holds the input high until you press, and an LED shows the state.
Free build sheet
The parts, every wire with its length and bend points, a bend guide, both sides of the board and checkboxes to track your progress. Print it or keep it open at the bench.
Open the build sheetWhat you need
9 parts on a perfboard 16 × 28 holes, plus hookup wire.
| Qty | Part | Where to buy |
|---|---|---|
| 1 | Ceramic Cap100nF C1 | Buy Ceramic Cap on Amazon |
| 1 | Power Input (2-pin) J1 | |
| 1 | Signal+Power Header (3-pin) J2 | |
| 1 | Screw Terminal 2P (5.08mm) J3 | |
| 1 | LED LED1 | Buy LED on Amazon |
| 1 | NPN Transistor (TO-92) Q1 | Buy NPN Transistor (TO-92) on Amazon |
| 2 | Resistor (axial)10k R1, R2 | Buy Resistor (axial) on Amazon |
| 1 | Resistor (axial)330 R3 | Buy Resistor (axial) on Amazon |
Check every pin against the datasheet of the exact part in your hands before wiring.
As an Amazon Associate I earn from qualifying purchases.
Cut list
12 wires, 312 mm (12.3 in) in total, in the order the build sheet cuts them. Wire numbers match the build sheet. Each length includes 5 mm per end to go through the hole.
| Wire | Colour and net | Length | ||
|---|---|---|---|---|
| 6 | BlackIN E12 → G9 | E12 → G9 | 23mm | 13mm (90°) |
| 12 | BlackGND M11 → G21 | M11 → G21 | 51mm | 30mm (90°) |
| 11 | BlueGND K9 → L10 | K9 → L10 | 14mm | Straight |
| 5 | Blue5V J5 → K14 | J5 → K14 | 35mm | 8mm (90°) |
| 4 | Green5V C3 → J3 | C3 → J3 | 28mm | Straight |
| 10 | GreenGND K2 → J8 | K2 → J8 | 33mm | 10mm (90°), 25mm (90°) |
| 1 | RedCOL K24 → H24 | K24 → H24 | 18mm | Straight |
| 7 | RedIN H8 → M8 | H8 → M8 | 23mm | Straight |
| 3 | White5V C8 → C5 | C8 → C5 | 18mm | Straight |
| 9 | WhiteGND D3 → K3 | D3 → K3 | 28mm | Straight |
| 8 | YellowIN L9 → L5 | L9 → L5 | 20mm | Straight |
| 2 | YellowBASE E19 → F23 | E19 → F23 | 23mm | 15mm (90°) |
About this build
A pushbutton input done right. With the button open and no resistor, an input isn't high or low. It floats and picks up noise. A 10k pull-up holds the input at a solid high, and pressing the button ties it to ground through that same resistor, at 0.5 mA.
A 100nF ceramic on the input smooths out contact bounce. A PN2222A NPN transistor and an LED with a 330 ohm resistor show the state right on the board, and the input also leaves on a 3 pin header so a microcontroller can read it.
The button itself is off the board, on a 2 pin screw terminal. The transistor is a TO-92 part and lead orders vary, so wire it from the build sheet and the PN2222A datasheet.
More builds
See all builds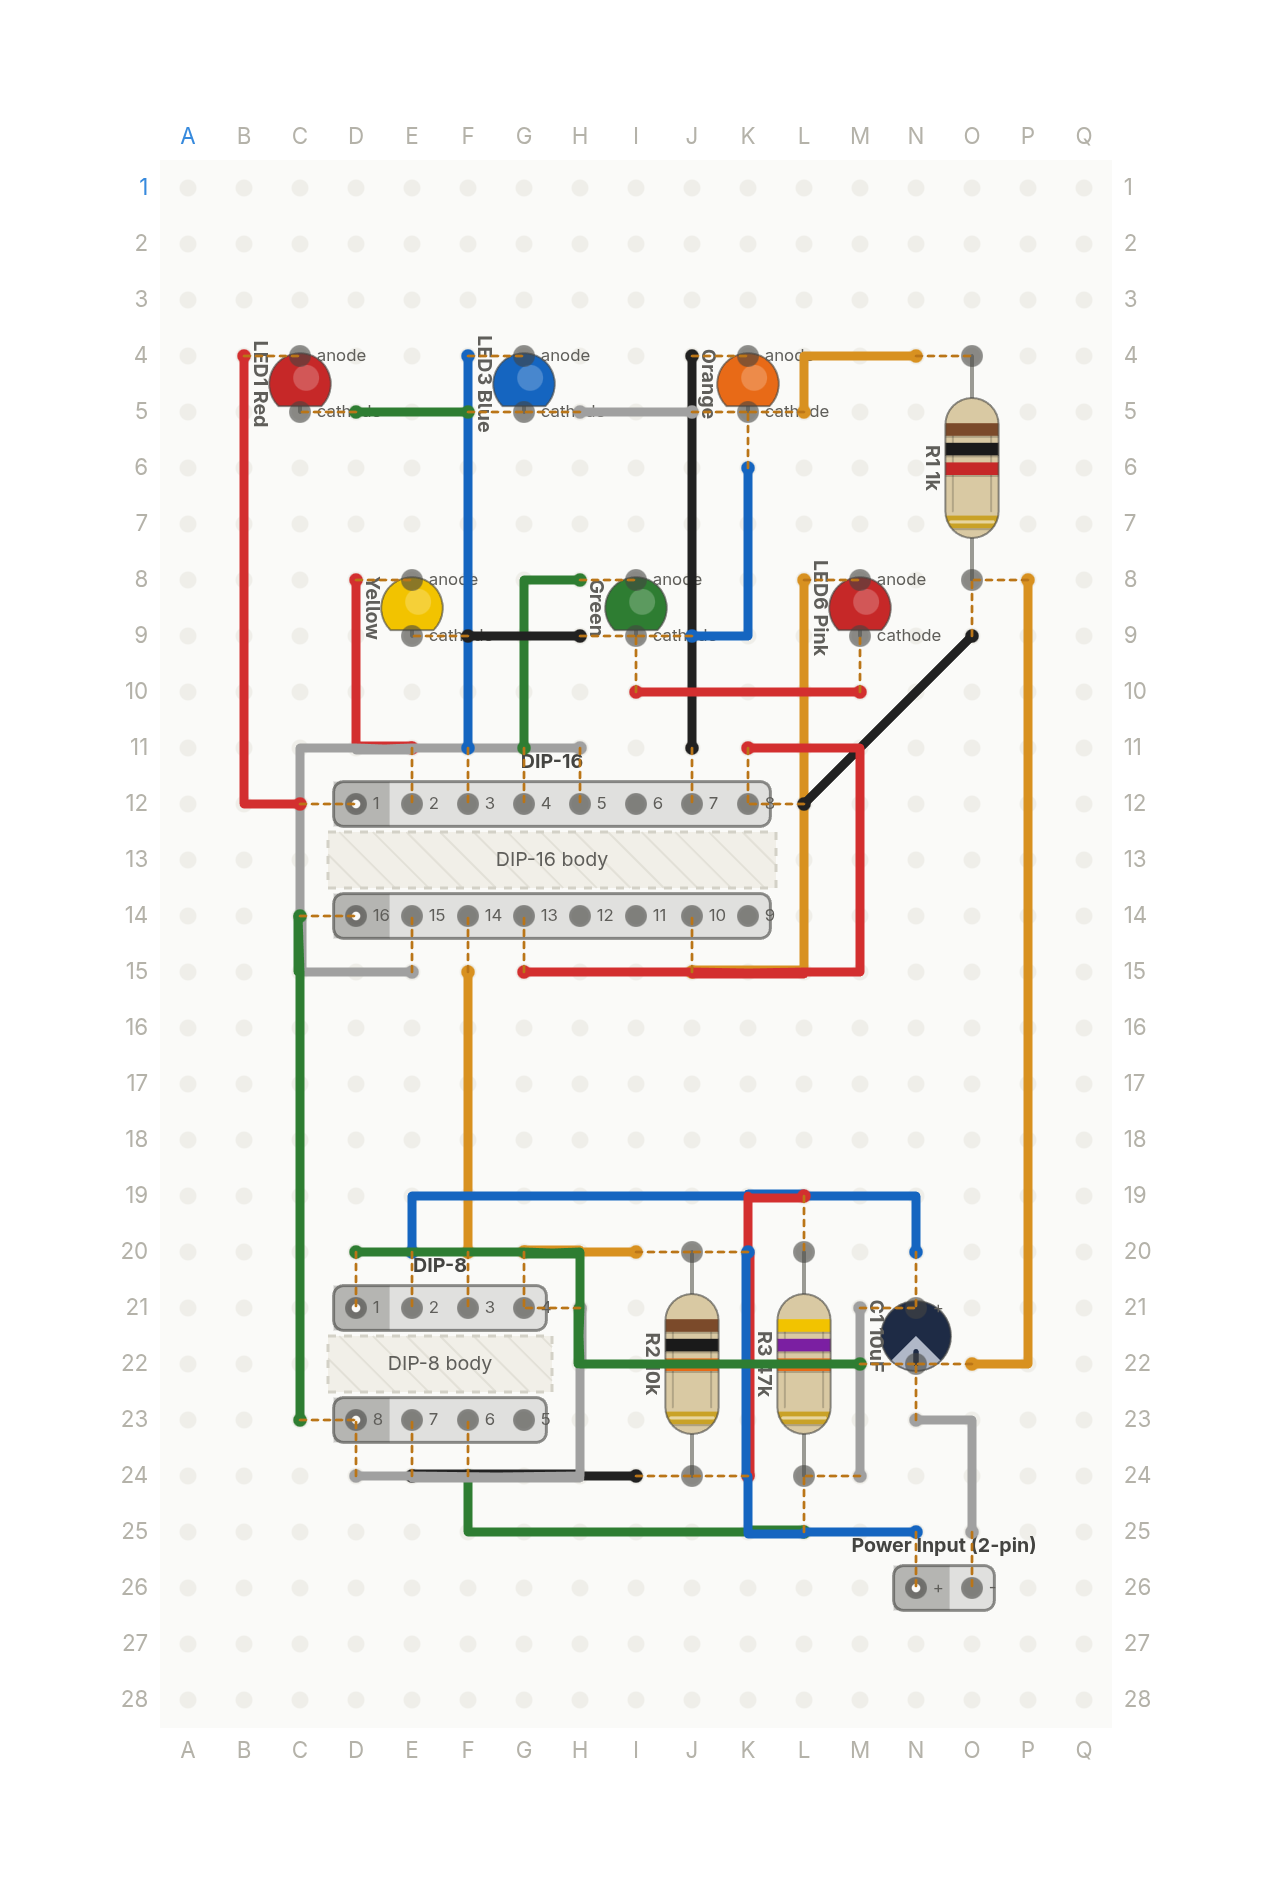 Video
VideoThe Stranger Things light wall, from two chips
Six coloured LEDs light one at a time in a loop, like the Christmas light wall in Stranger Things. A 555 timer and a counter.
13 parts · 28 wires
LightsTimers and logic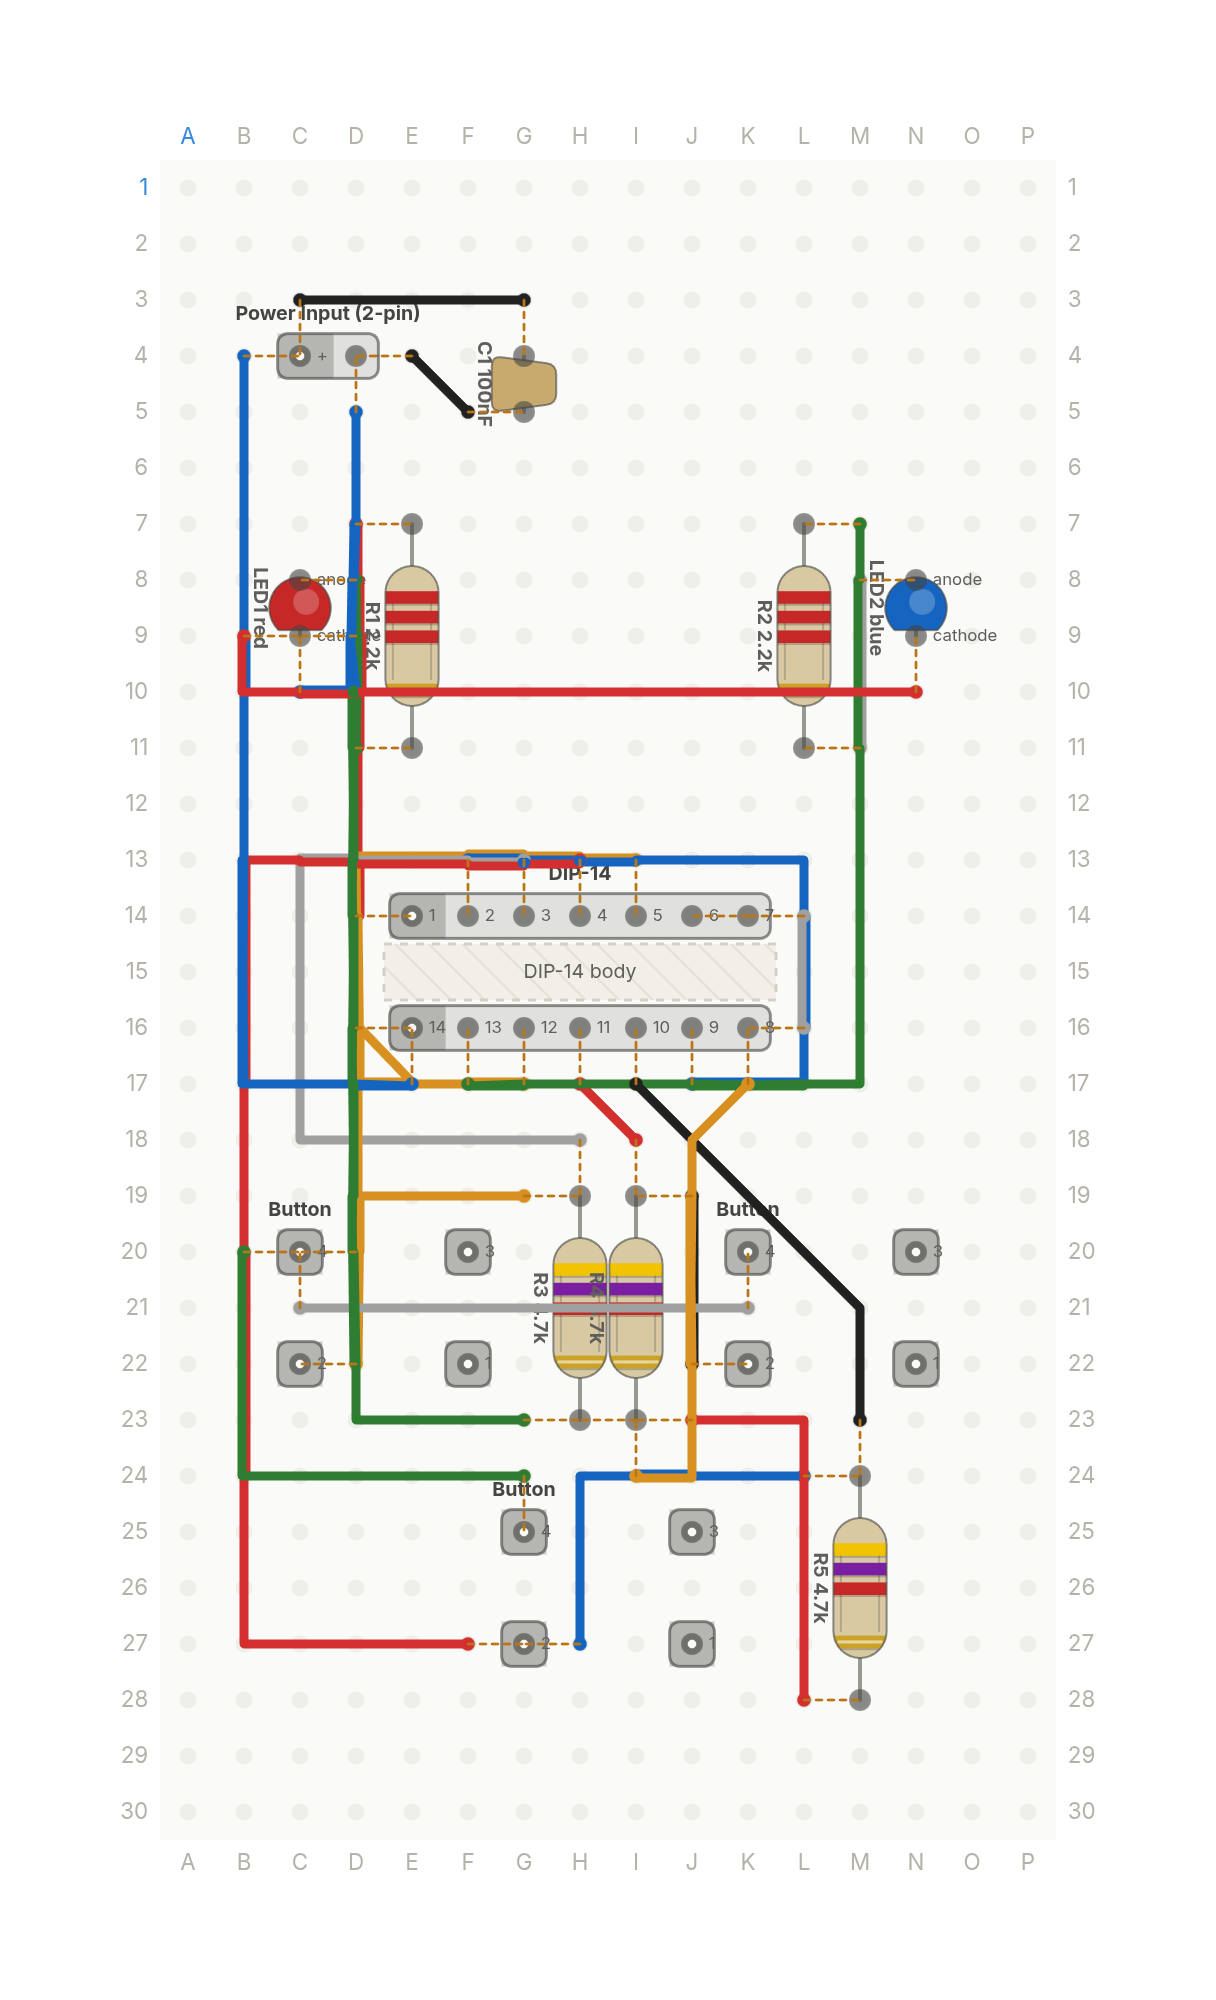 Video
VideoA game show buzzer that knows who pressed first
Two players, two buttons: whoever presses first lights their LED and locks the other out. One flip-flop chip, no code.
13 parts · 25 wires
Games and toysTimers and logic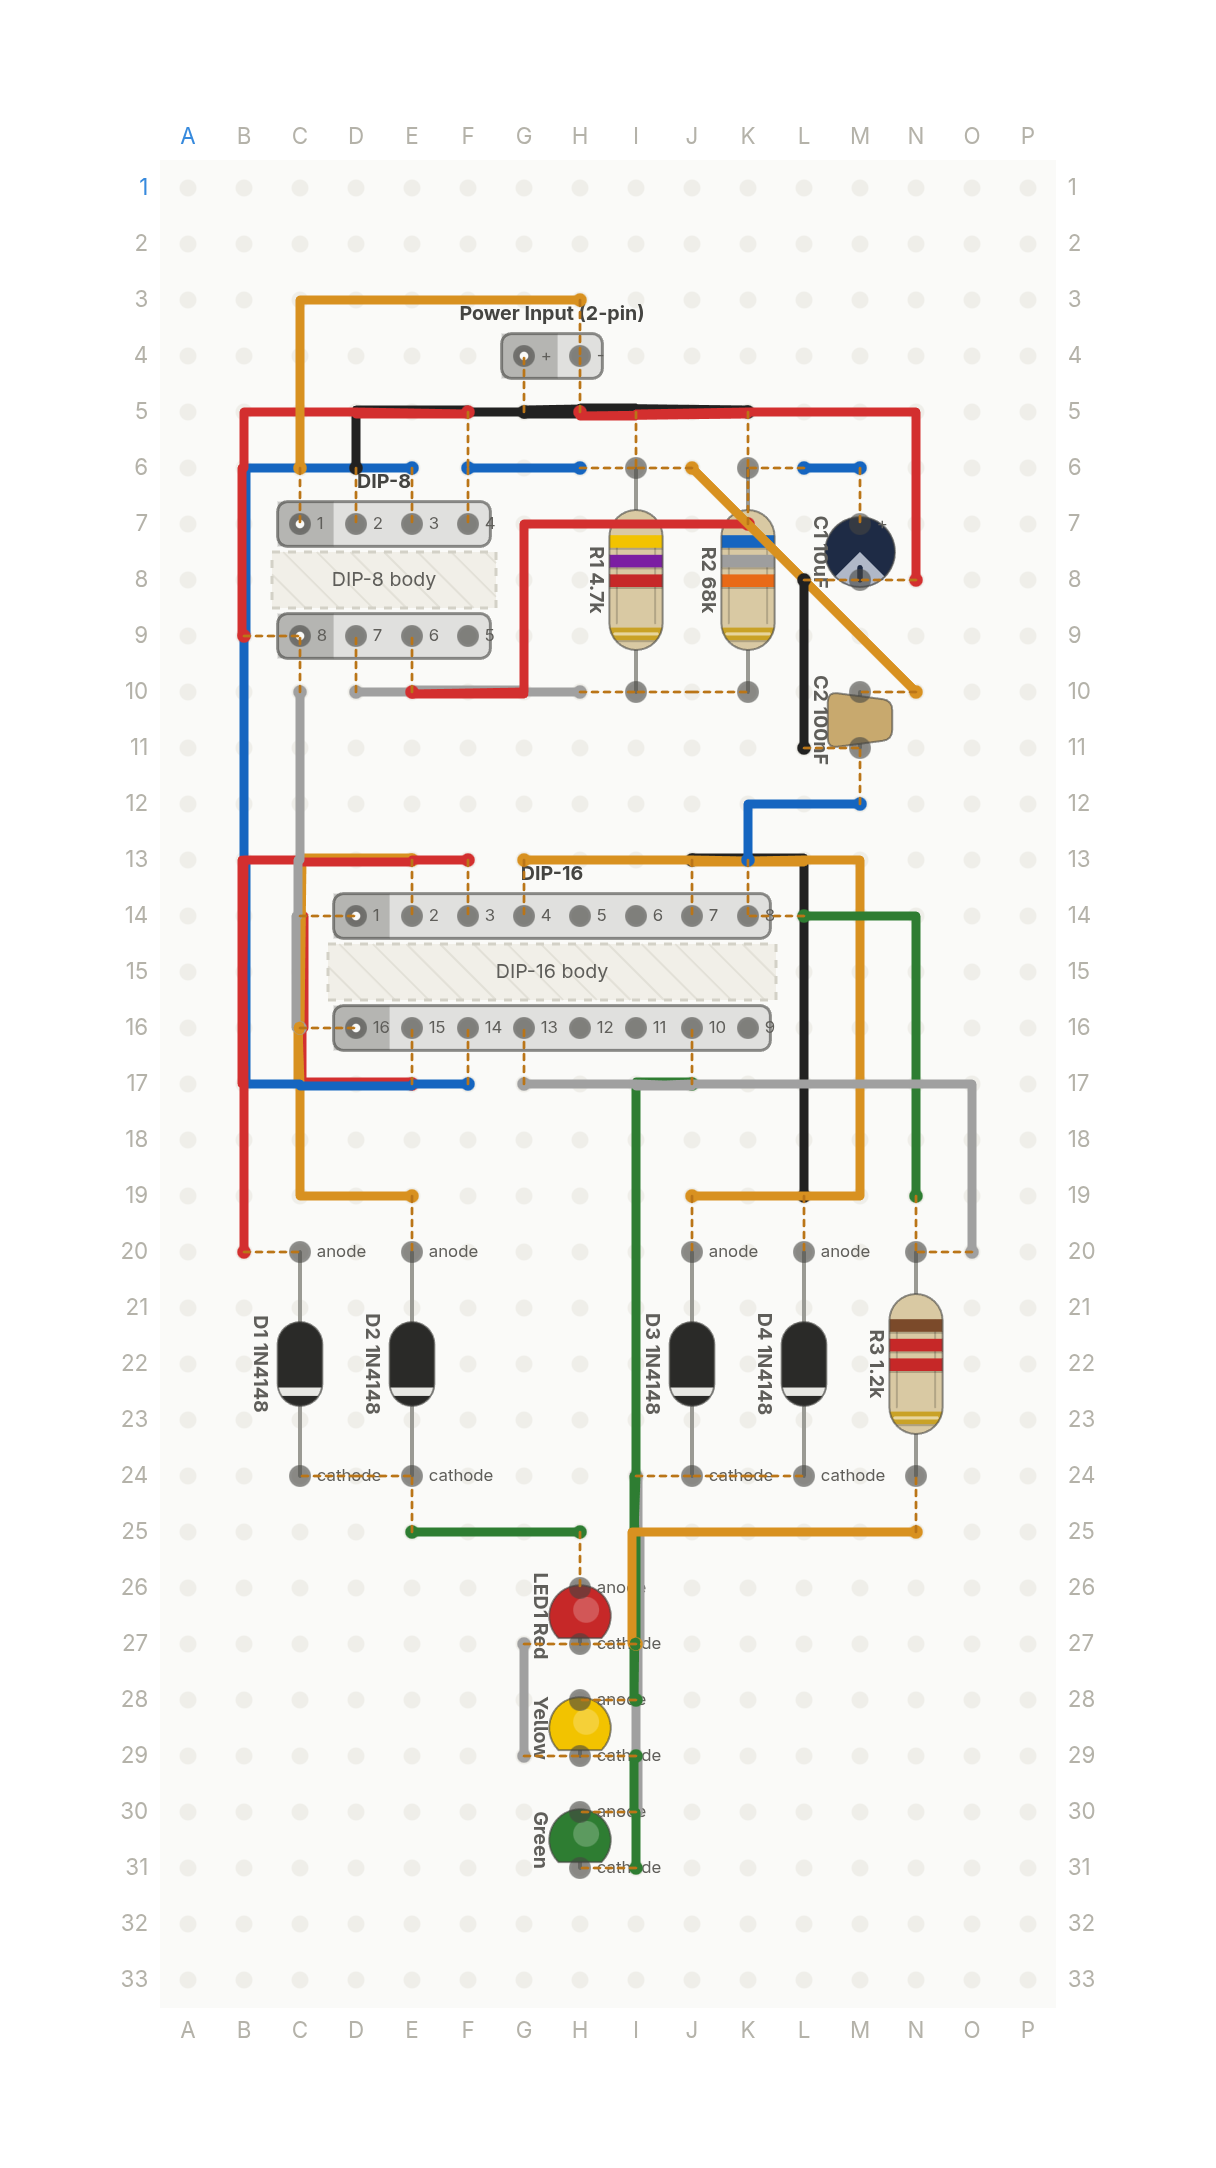 Video
VideoA traffic light that counts to five
Red, yellow and green LEDs that cycle like a traffic light on their own. A 555 timer, a decade counter and four diodes.
15 parts · 27 wires
LightsTimers and logic