
One knob dims a 12V LED strip. No code.
One knob dims a 12V LED strip. A 555 timer makes the PWM and a MOSFET switches the strip. No microcontroller, no code.
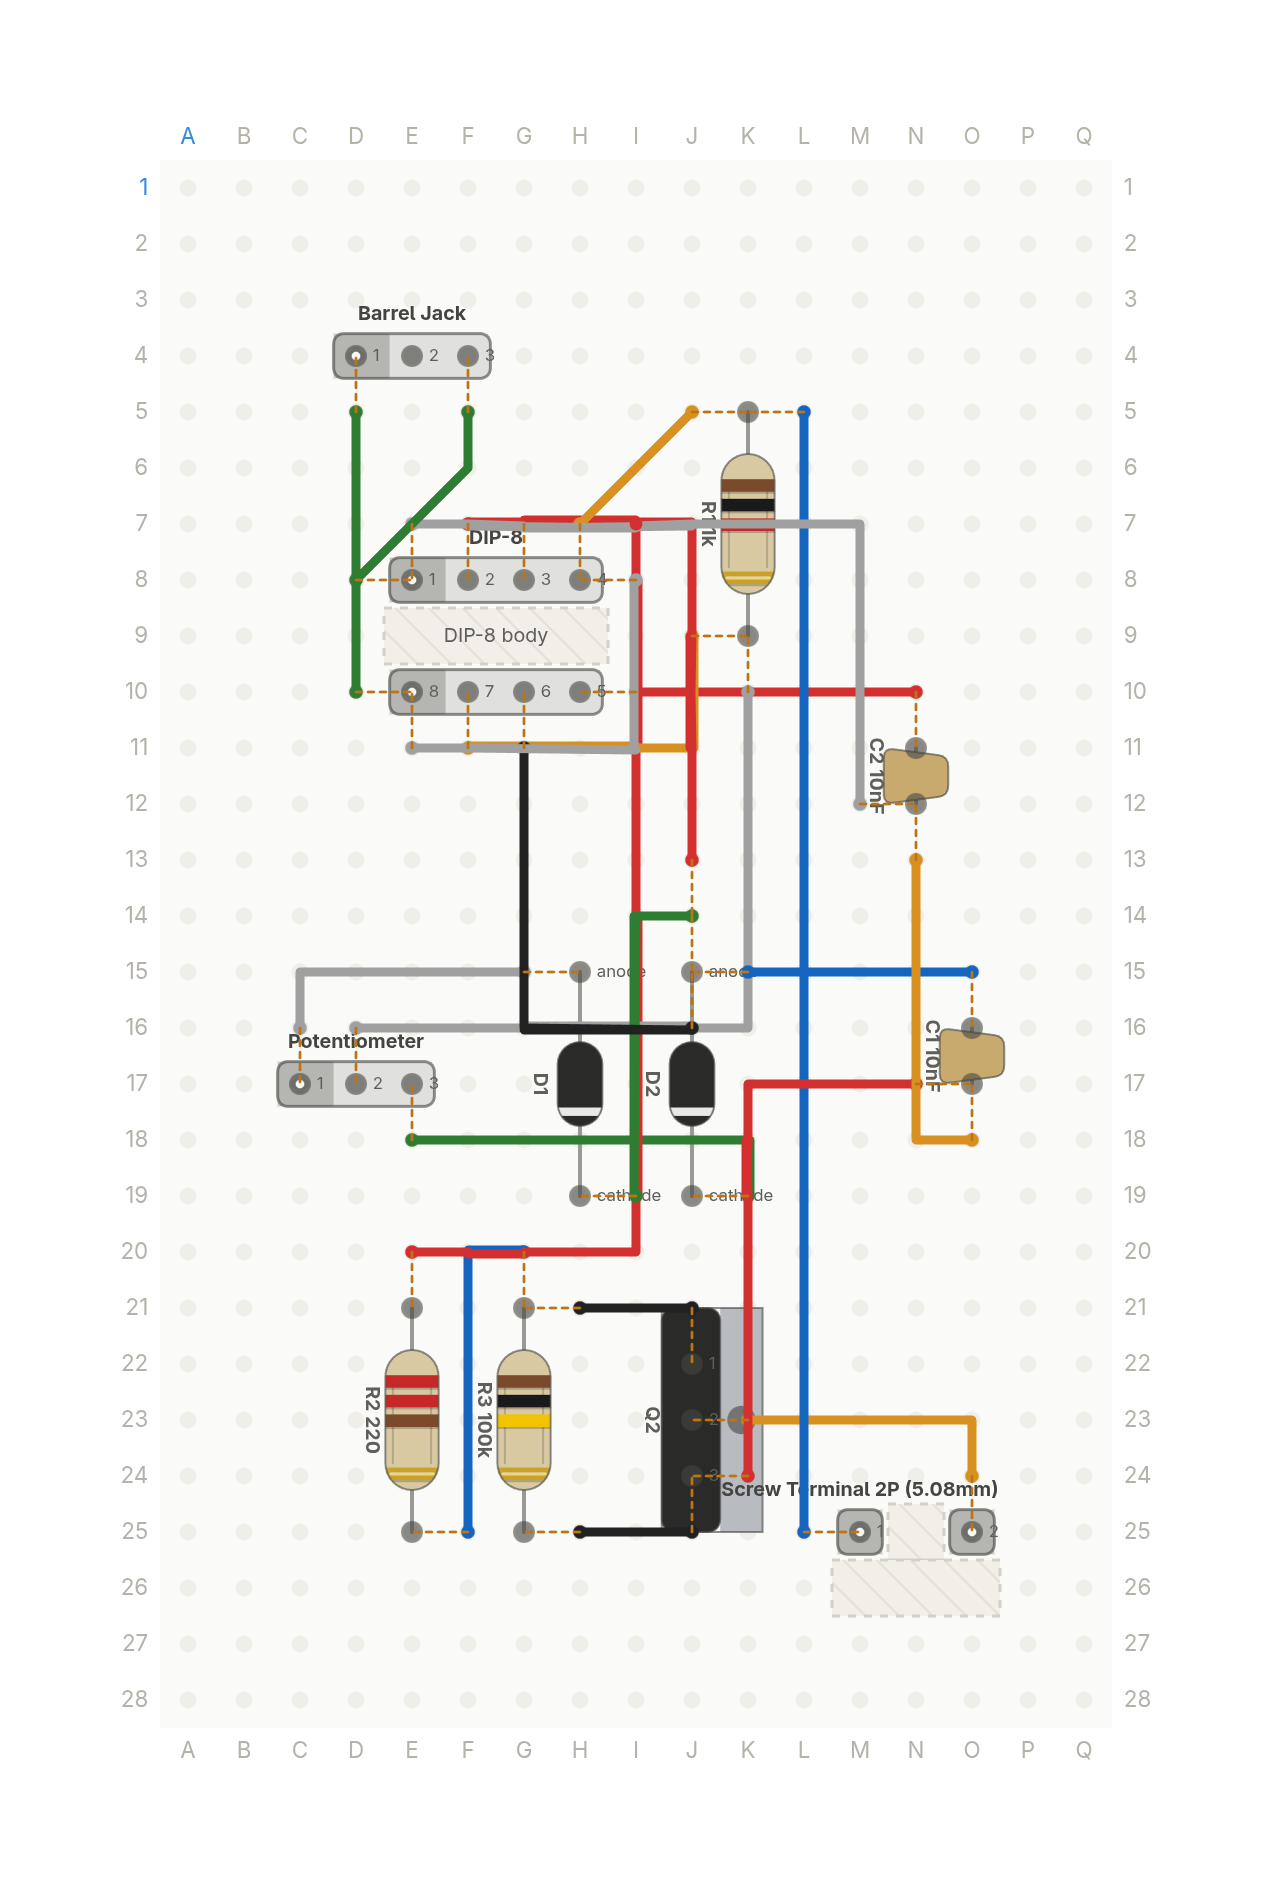
Free build sheet
The parts, every wire with its length and bend points, a bend guide, both sides of the board and checkboxes to track your progress. Print it or keep it open at the bench.
Open the build sheetWhat you need
12 parts on a perfboard 17 × 28 holes, plus hookup wire.
| Qty | Part | Where to buy |
|---|---|---|
| 2 | Ceramic Cap10nF C1, C2 | Buy Ceramic Cap on Amazon |
| 2 | Diode (axial) D1, D2 | |
| 1 | Barrel Jack J1 | |
| 1 | Screw Terminal 2P (5.08mm) J2 | |
| 1 | Potentiometer Q1 | |
| 1 | N-ch MOSFET (TO-220) Q2 | |
| 1 | Resistor (axial)1k R1 | Buy Resistor (axial) on Amazon |
| 1 | Resistor (axial)220 R2 | Buy Resistor (axial) on Amazon |
| 1 | Resistor (axial)100k R3 | Buy Resistor (axial) on Amazon |
| 1 | DIP-8 U1 |
Check every pin against the datasheet of the exact part in your hands before wiring.
As an Amazon Associate I earn from qualifying purchases.
Cut list
22 wires, 641 mm (25.2 in) in total, in the order the build sheet cuts them. Wire numbers match the build sheet. Each length includes 5 mm per end to go through the hole.
| Wire | Colour and net | Length | ||
|---|---|---|---|---|
| 6 | BlackGATE H21 → J21 | H21 → J21 | 15mm | Straight |
| 18 | BlackGND H25 → J25 | H25 → J25 | 15mm | Straight |
| 12 | BlackTIMING J16 → G11 | J16 → G11 | 30mm | 13mm (90°) |
| 11 | BlueTIMING K15 → O15 | K15 → O15 | 20mm | Straight |
| 5 | BlueGATE F25 → G20 | F25 → G20 | 25mm | 18mm (90°) |
| 17 | BlueV12 L5 → L25 | L5 → L25 | 61mm | Straight |
| 22 | GreenGND D8 → F5 | D8 → F5 | 20mm | 12mm (45°) |
| 16 | GreenV12 D10 → D5 | D10 → D5 | 23mm | Straight |
| 10 | GreenTIMING I19 → J14 | I19 → J14 | 25mm | 18mm (90°) |
| 4 | GreenPOT_B K19 → E18 | K19 → E18 | 28mm | 8mm (90°) |
| 1 | RedCTRL N10 → I10 | N10 → I10 | 23mm | Straight |
| 13 | RedTIMING J13 → F7 | J13 → F7 | 35mm | 20mm (90°) |
| 19 | RedGND K24 → N17 | K24 → N17 | 35mm | 23mm (90°) |
| 7 | RedOUT_G E20 → G7 | E20 → G7 | 58mm | 15mm (90°), 48mm (90°) |
| 3 | WhitePOT_A G15 → C16 | G15 → C16 | 23mm | 15mm (90°) |
| 15 | WhiteV12 I8 → E11 | I8 → E11 | 28mm | 13mm (90°) |
| 21 | WhiteGND M12 → E7 | M12 → E7 | 43mm | 18mm (90°) |
| 9 | WhiteDISCH_W K10 → D16 | K10 → D16 | 43mm | 20mm (90°) |
| 14 | YellowV12 J5 → H7 | J5 → H7 | 17mm | Straight |
| 2 | YellowLOAD K23 → O24 | K23 → O24 | 23mm | 15mm (90°) |
| 20 | YellowGND O18 → N13 | O18 → N13 | 25mm | 8mm (90°) |
| 8 | YellowDISCH_W J9 → F11 | J9 → F11 | 25mm | 10mm (90°) |
About this build
A one knob dimmer for a 12V LED strip, with no microcontroller and no code. An NE555 runs as a PWM oscillator, switching the strip on and off fast enough that you see brightness instead of blinking.
The knob feeds two steering diodes, one for the charge path of the timing capacitor and one for the discharge path. Turning the knob moves resistance from one path to the other, so the duty cycle changes while the switching frequency barely moves. That keeps the strip from changing its buzz pitch as you dim it.
12V arrives on a barrel jack. A logic level N channel MOSFET in a TO-220 switches the low side of the strip, with a gate series resistor and a 100k pulldown so the strip stays dark at power up. The strip leaves on a screw terminal, high side to the supply and low side to the MOSFET's drain.
More builds
See all builds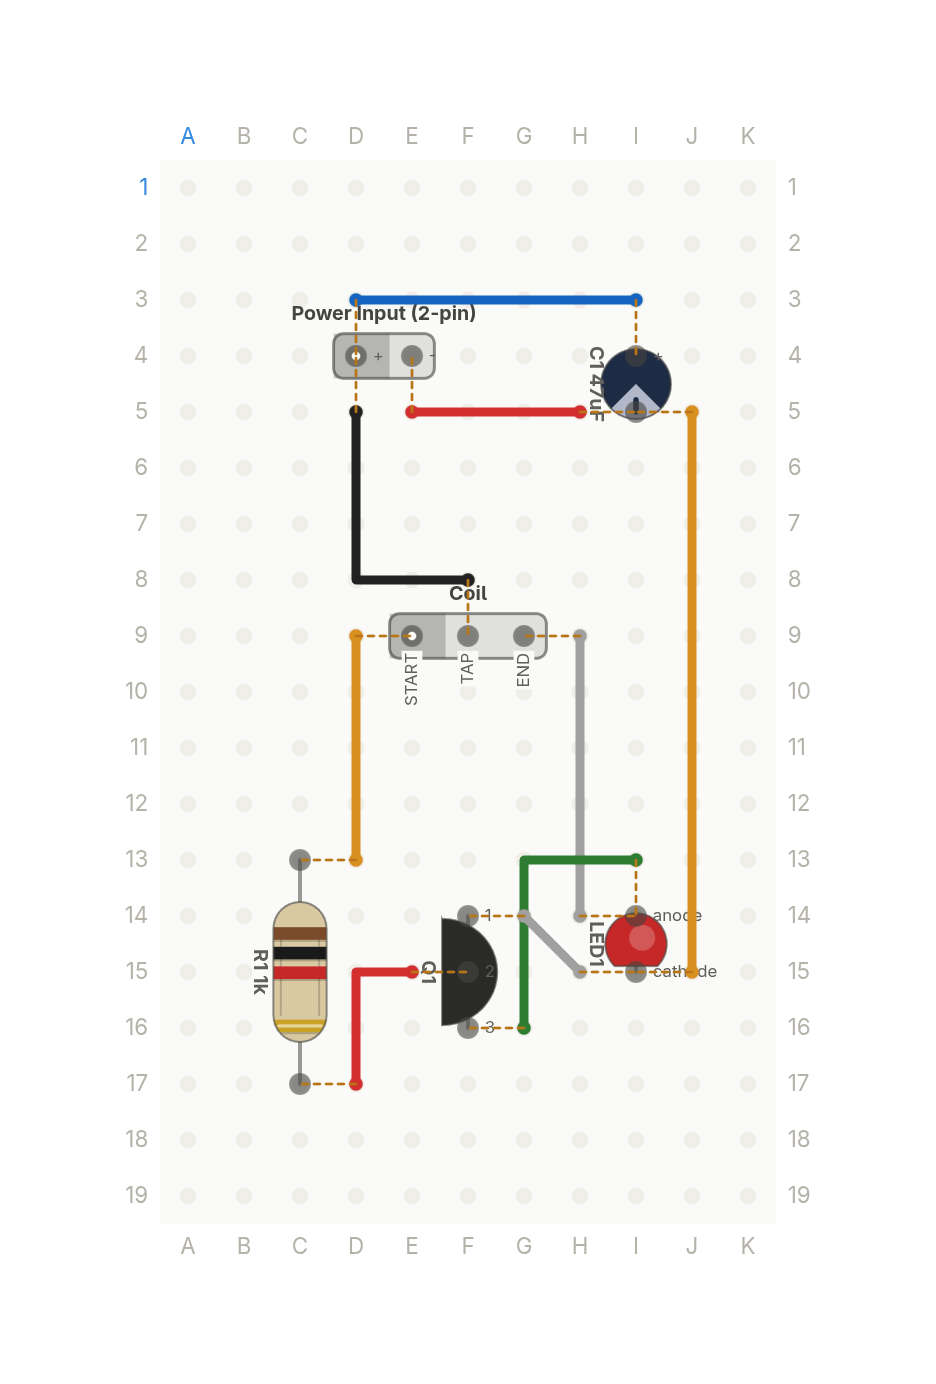 Video
VideoThis lights an LED from a dead battery
One transistor and a hand wound coil that light a white LED from a nearly dead 1V cell. Six parts.
6 parts · 9 wires
LightsPower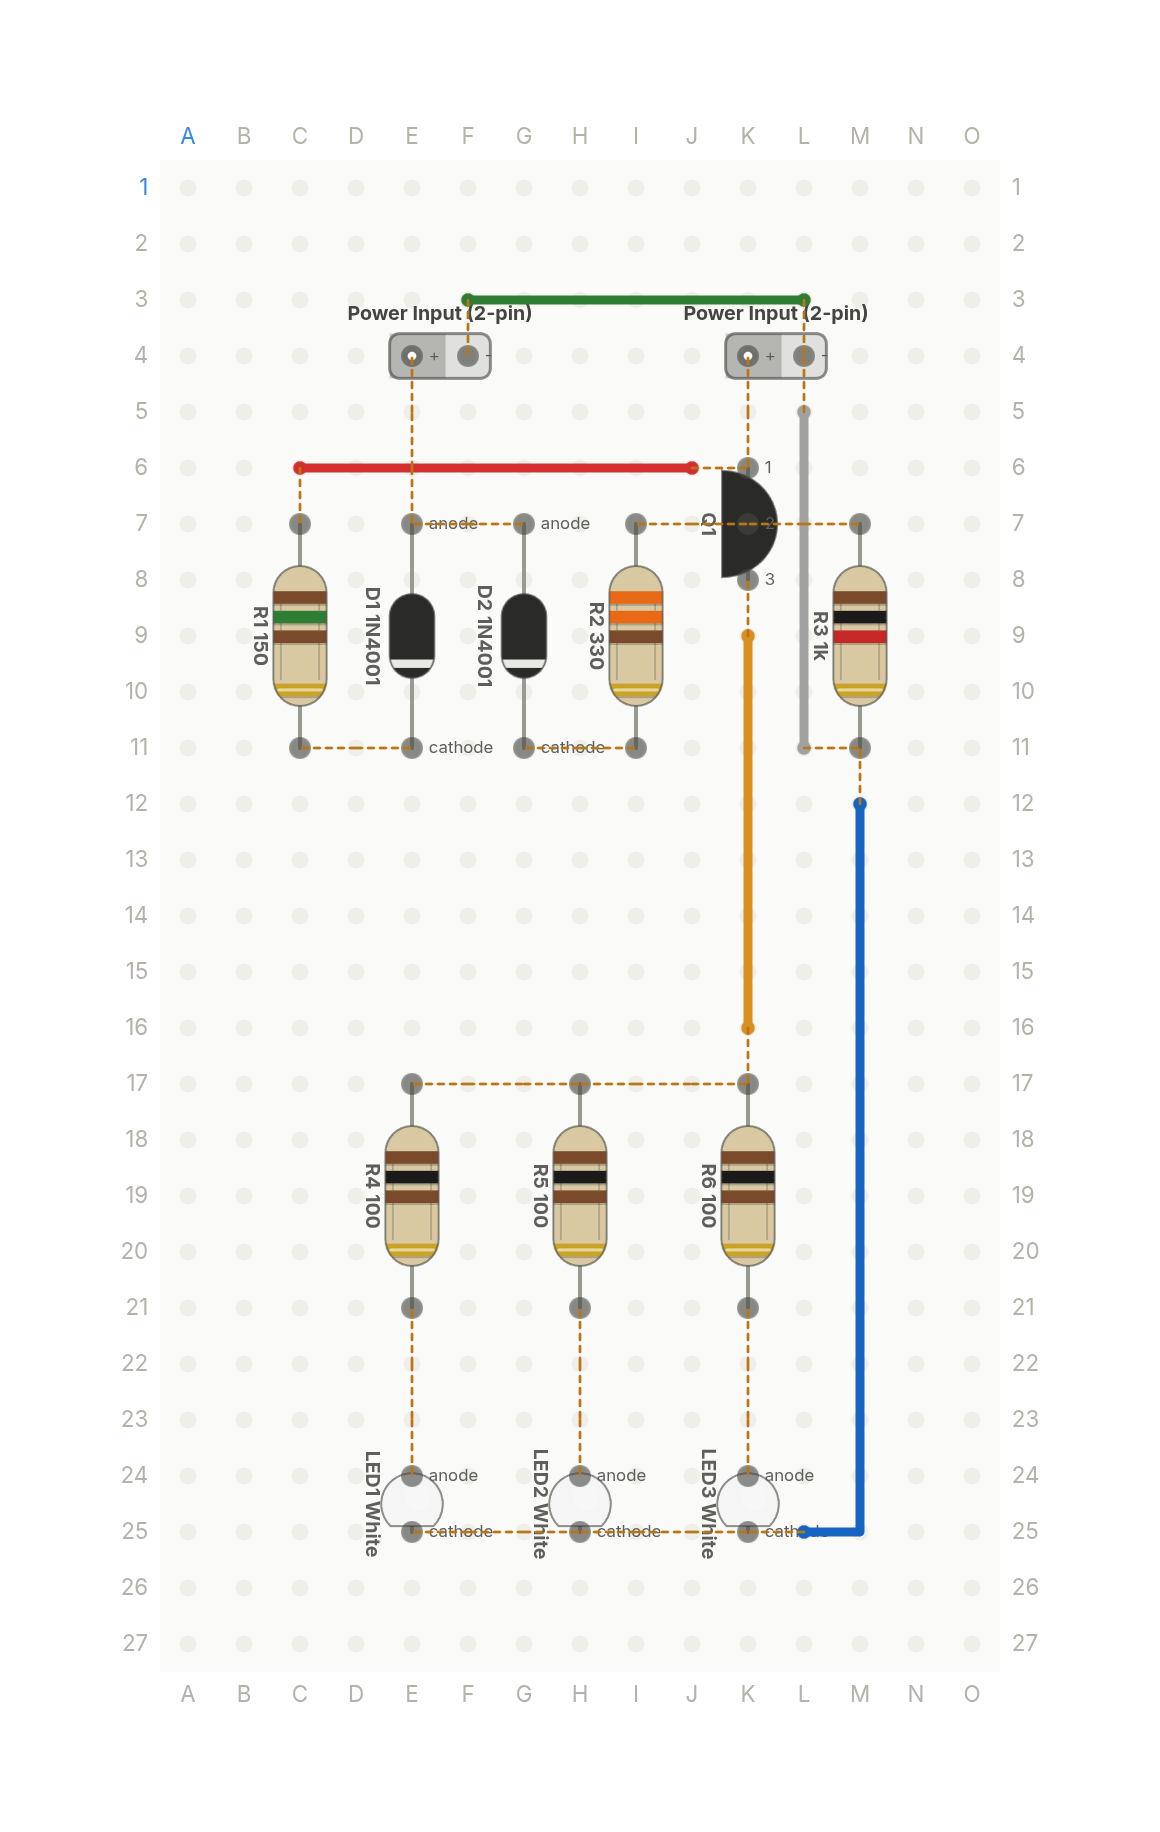 Premieres Nov 25
The emergency light that turns on when the power dies
Three white LEDs that switch on from a battery the moment the wall adapter loses power, and charge it while it's plugged in.
14 parts · 5 wires
LightsPower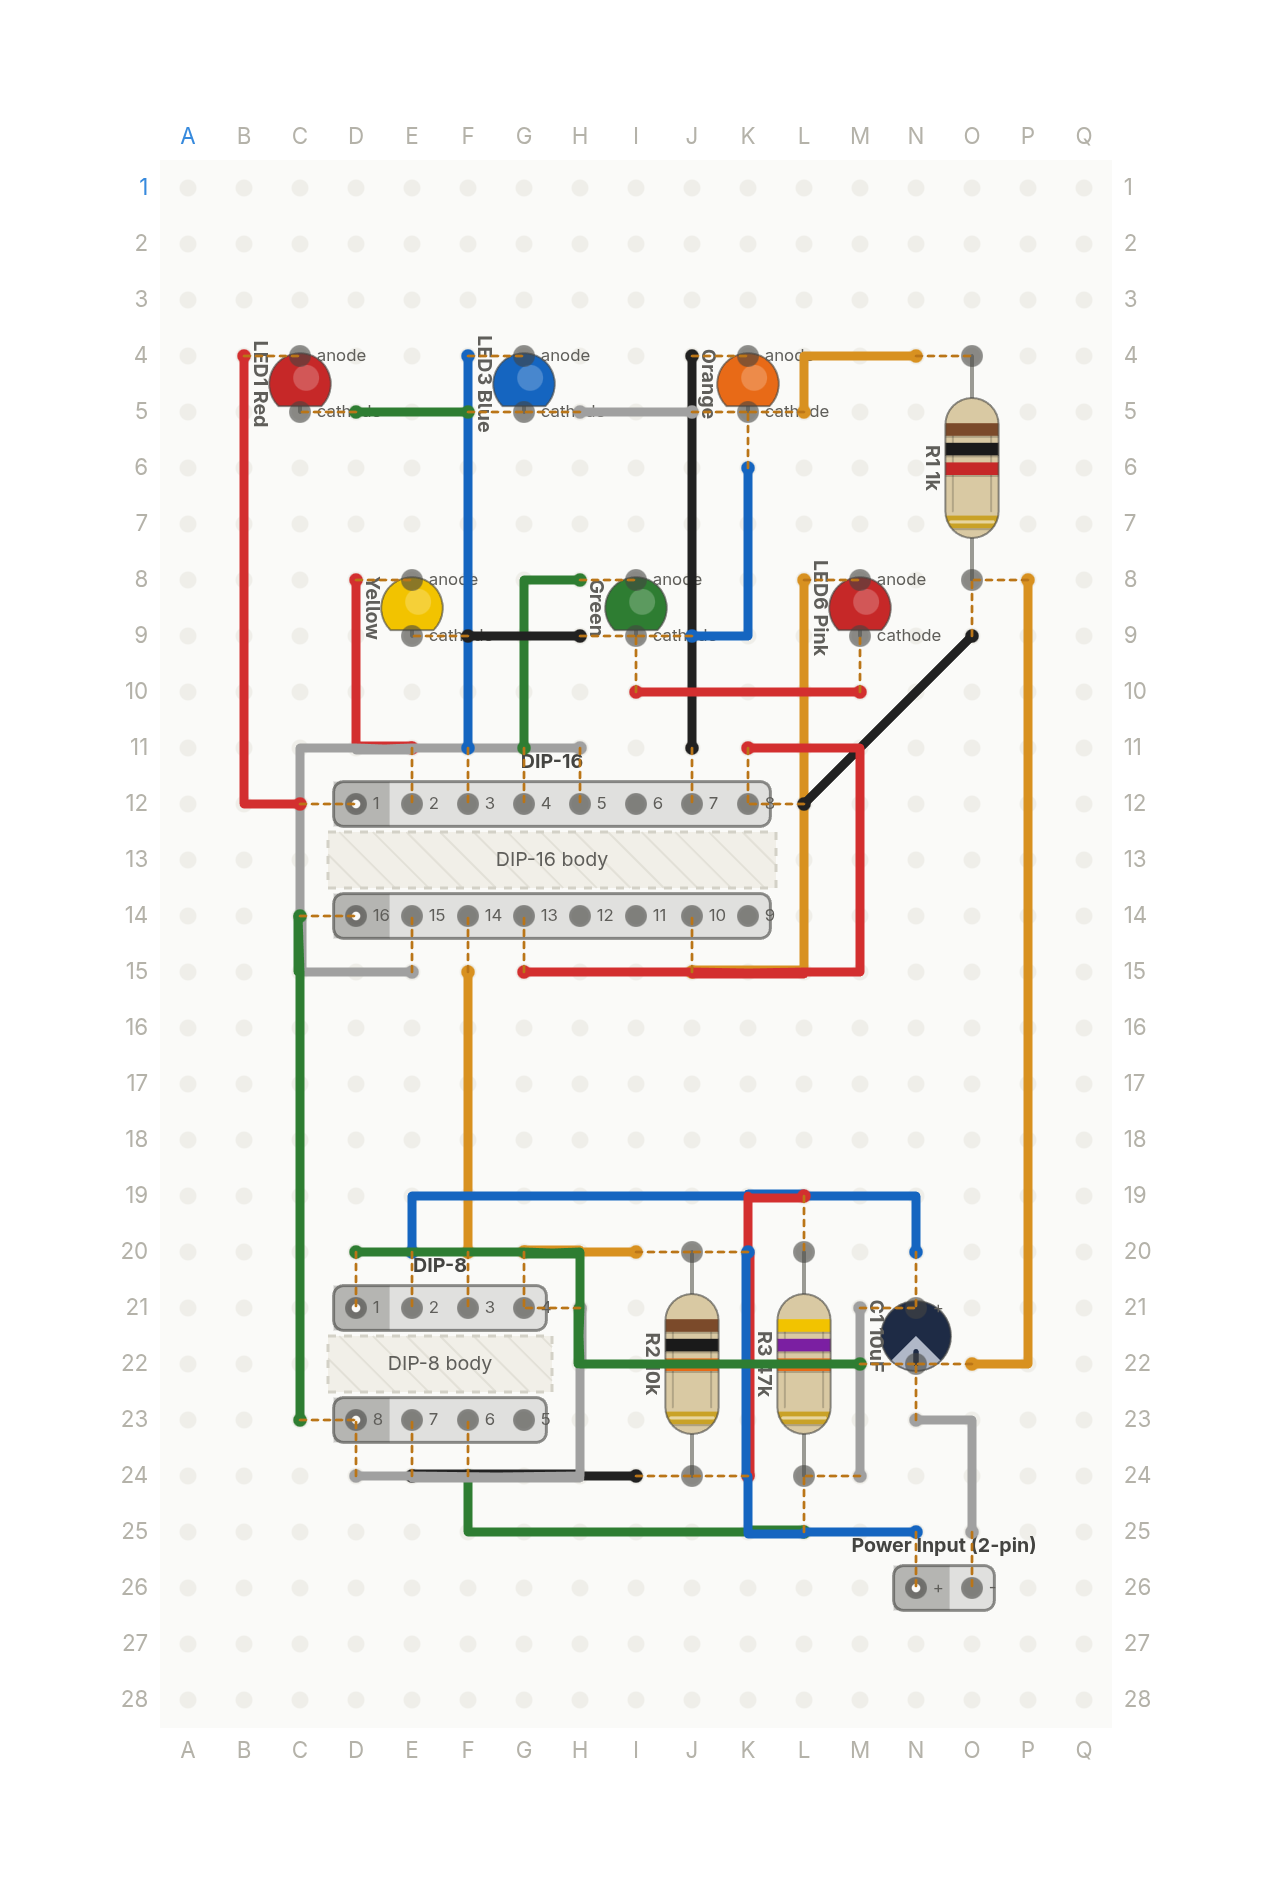 Video
VideoThe Stranger Things light wall, from two chips
Six coloured LEDs light one at a time in a loop, like the Christmas light wall in Stranger Things. A 555 timer and a counter.
13 parts · 28 wires
LightsTimers and logic