
Breadboard vs perfboard vs stripboard vs PCB: which should you use?
Short answer. Use a breadboard to prove the circuit works. Use perfboard or stripboard to build one or two permanent copies. Order a custom PCB when you need many copies, tiny parts or a small board.
They aren't rivals. They're steps on the same path, and plenty of projects stop at step two.
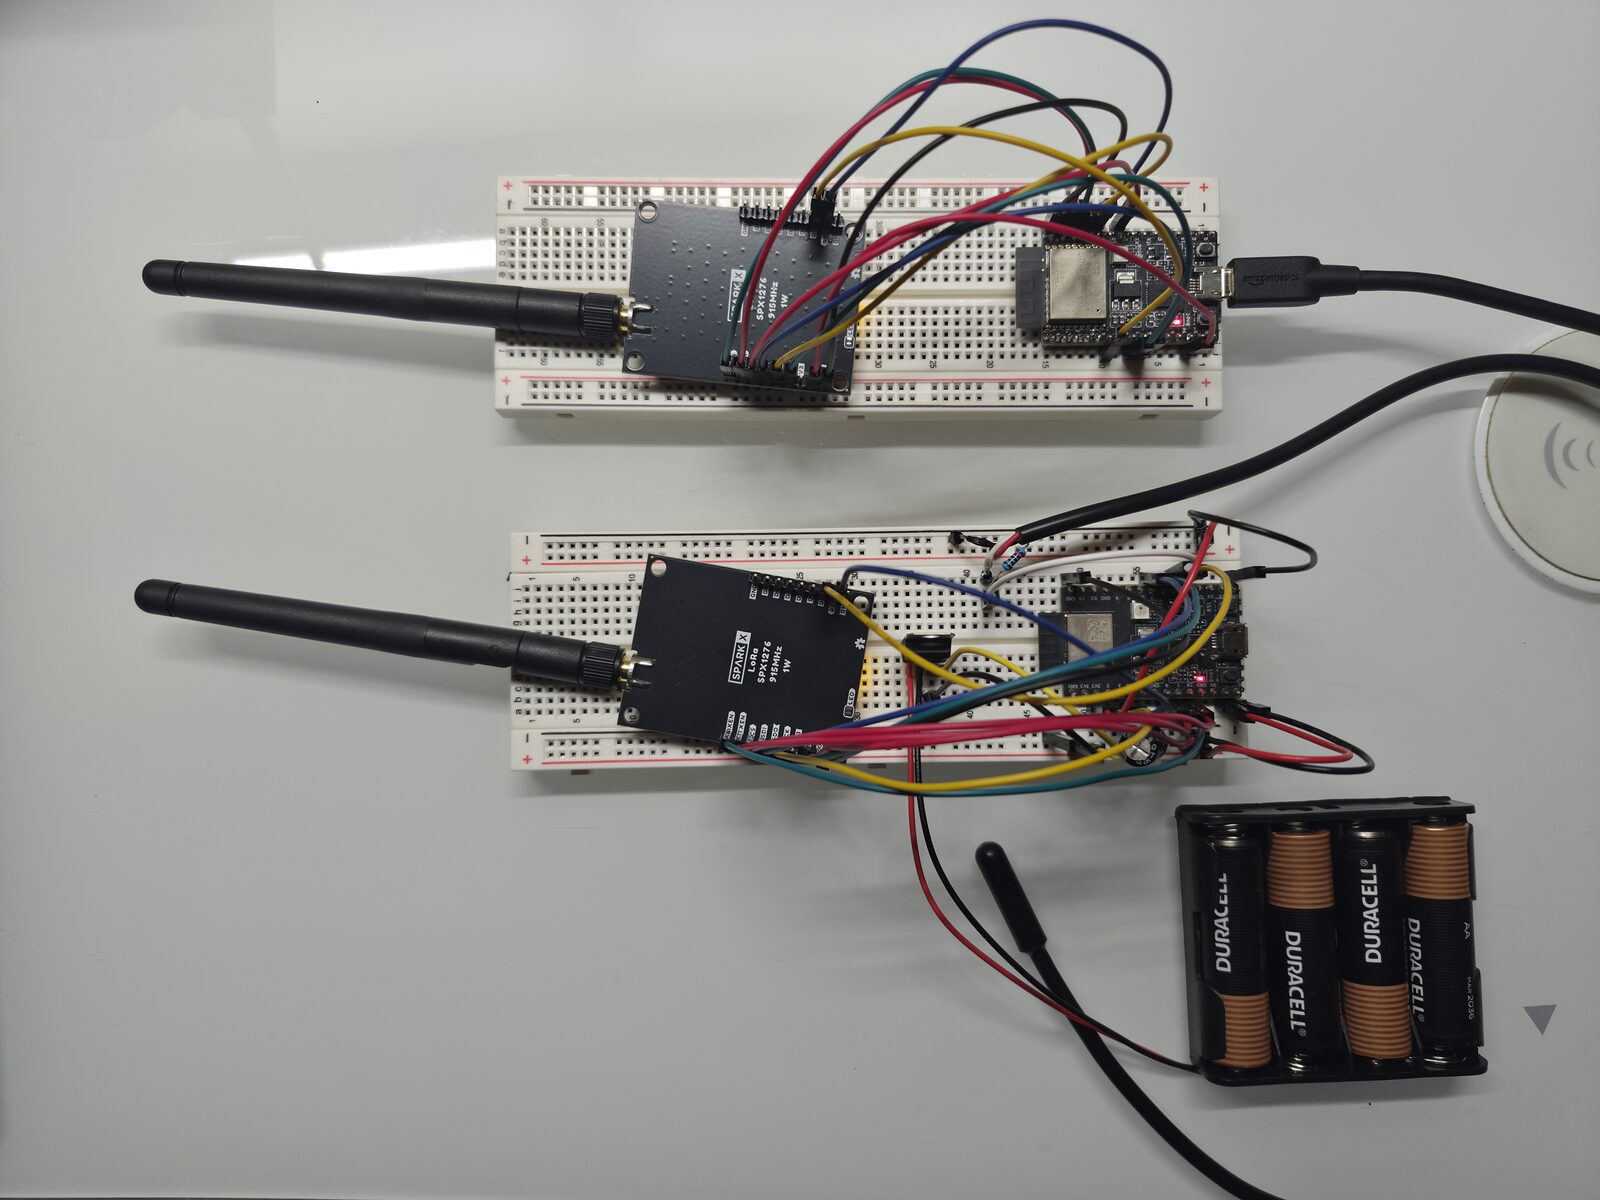
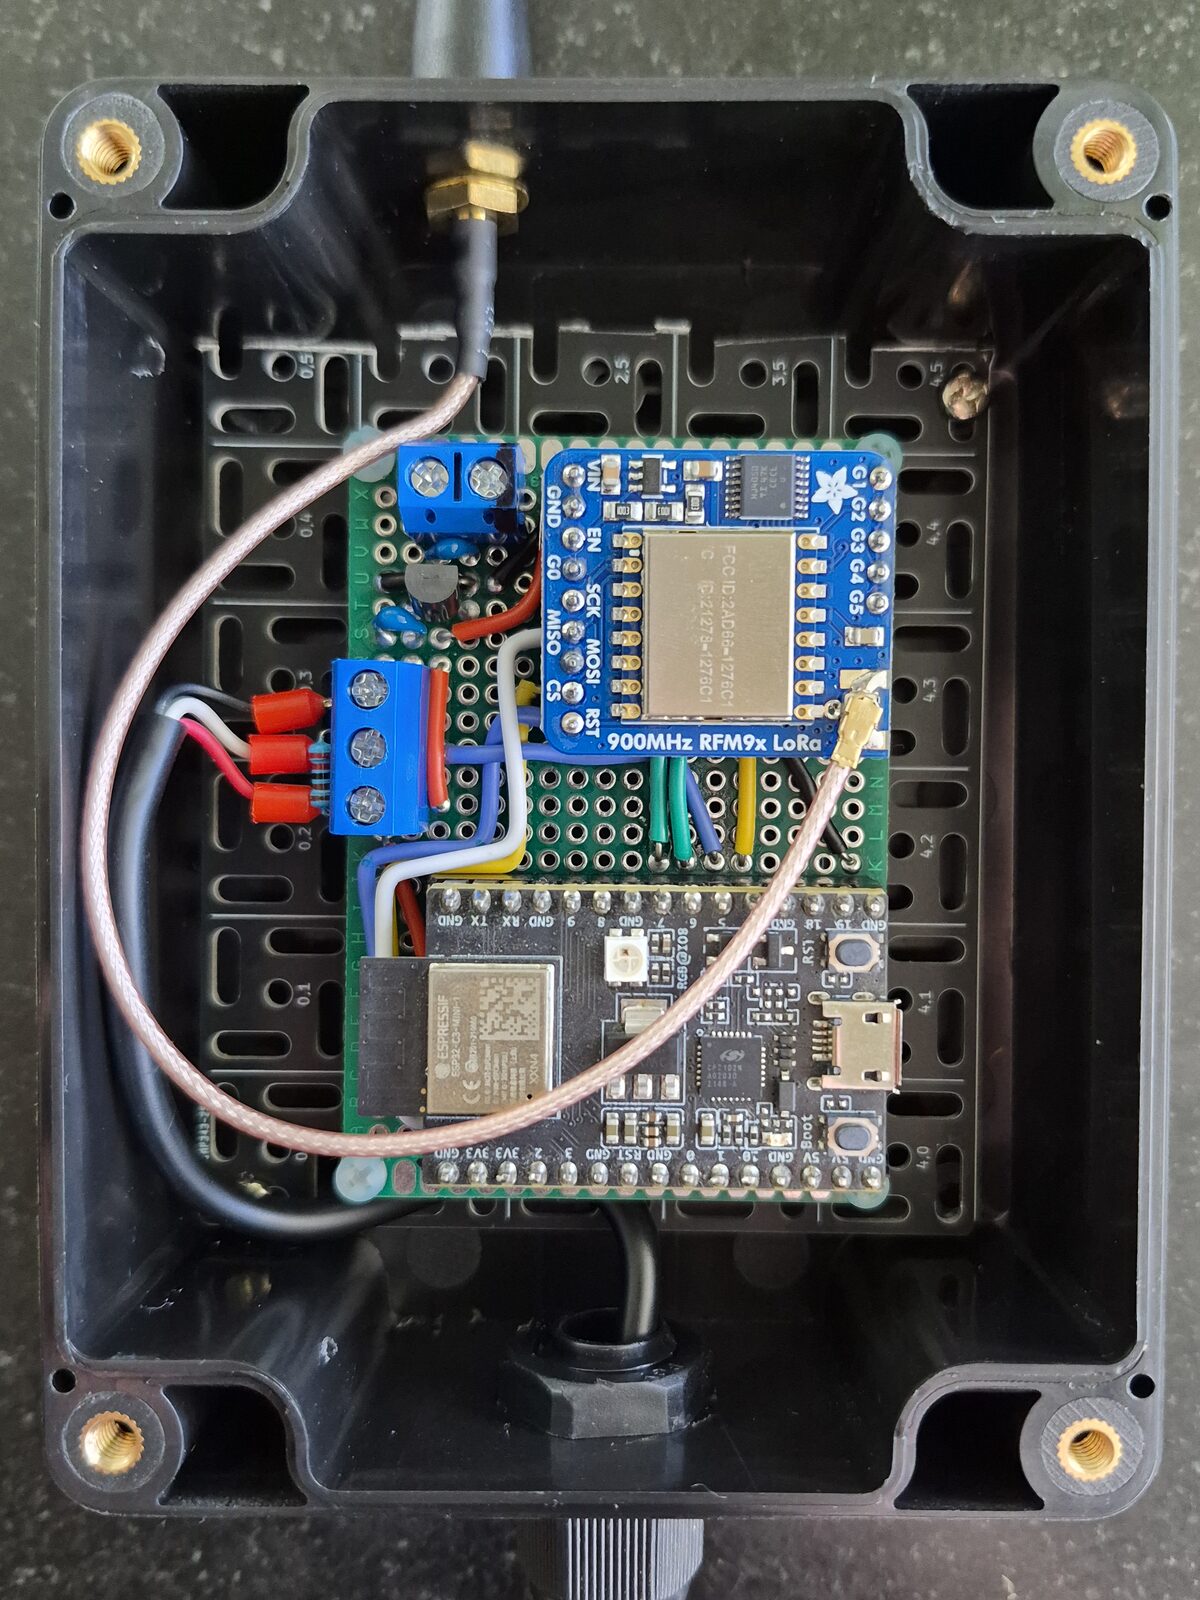
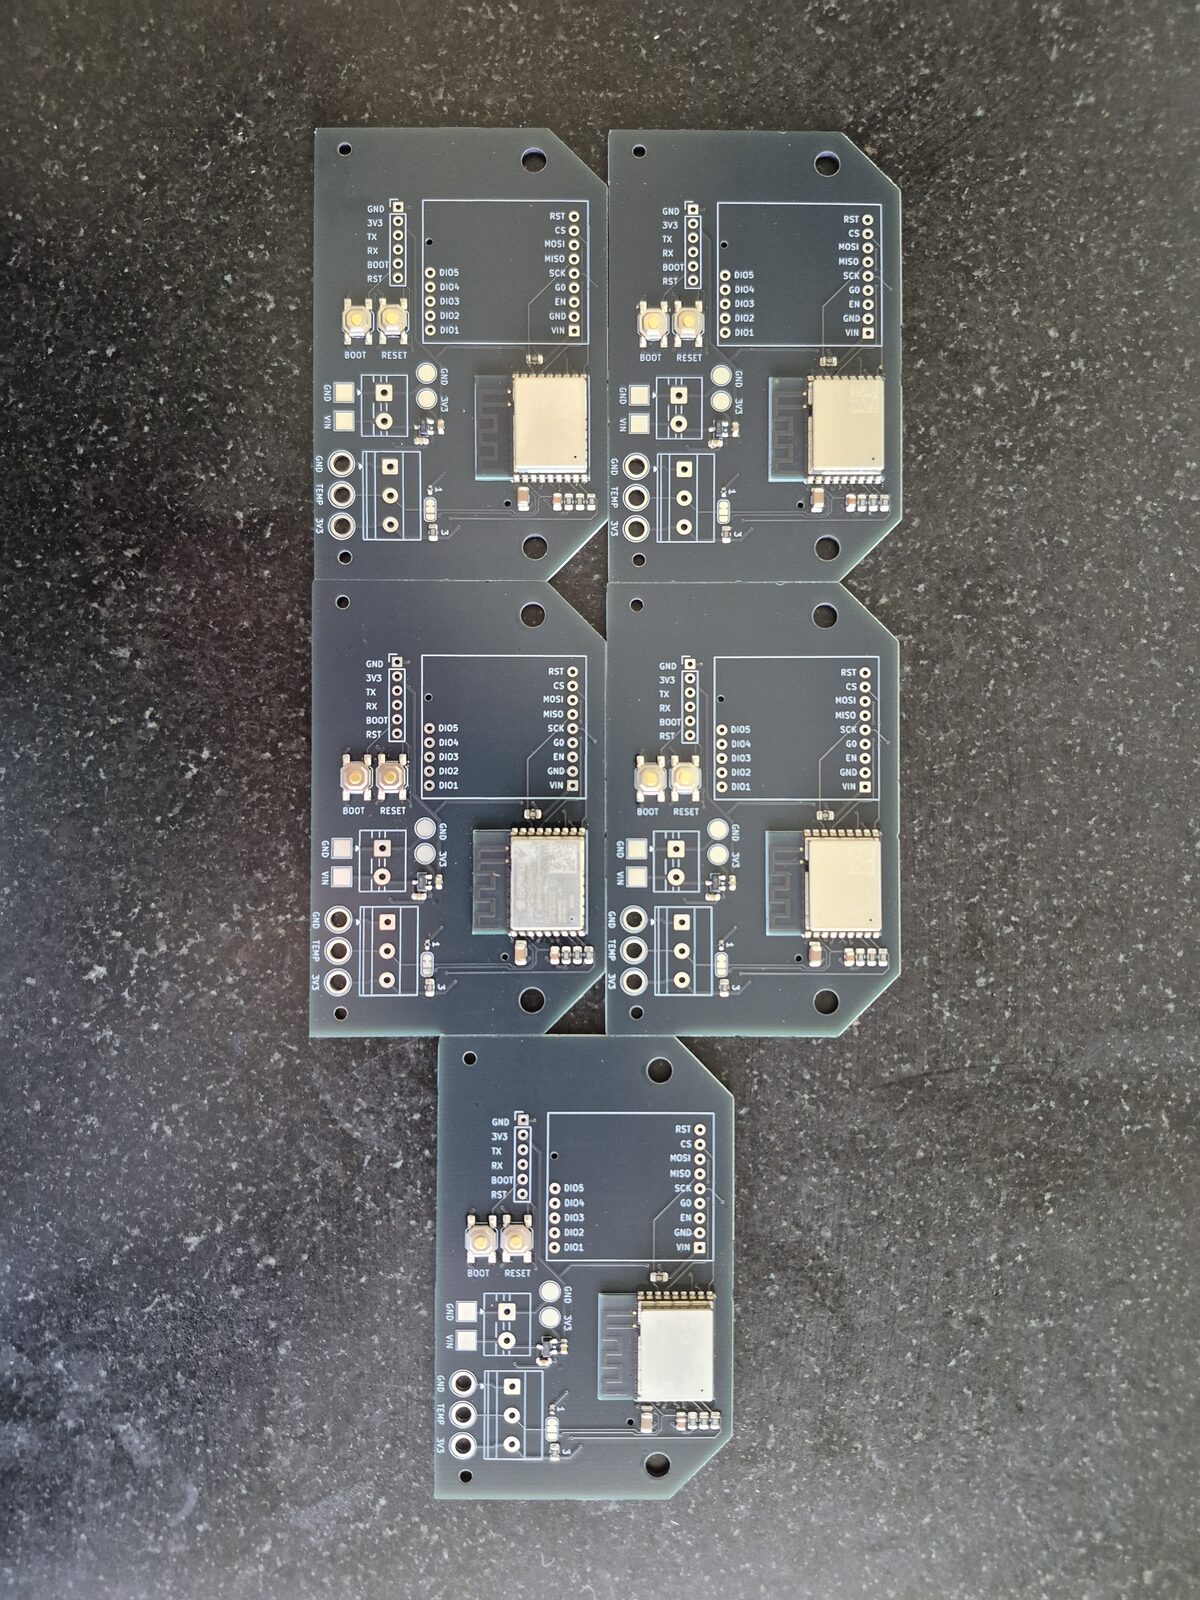
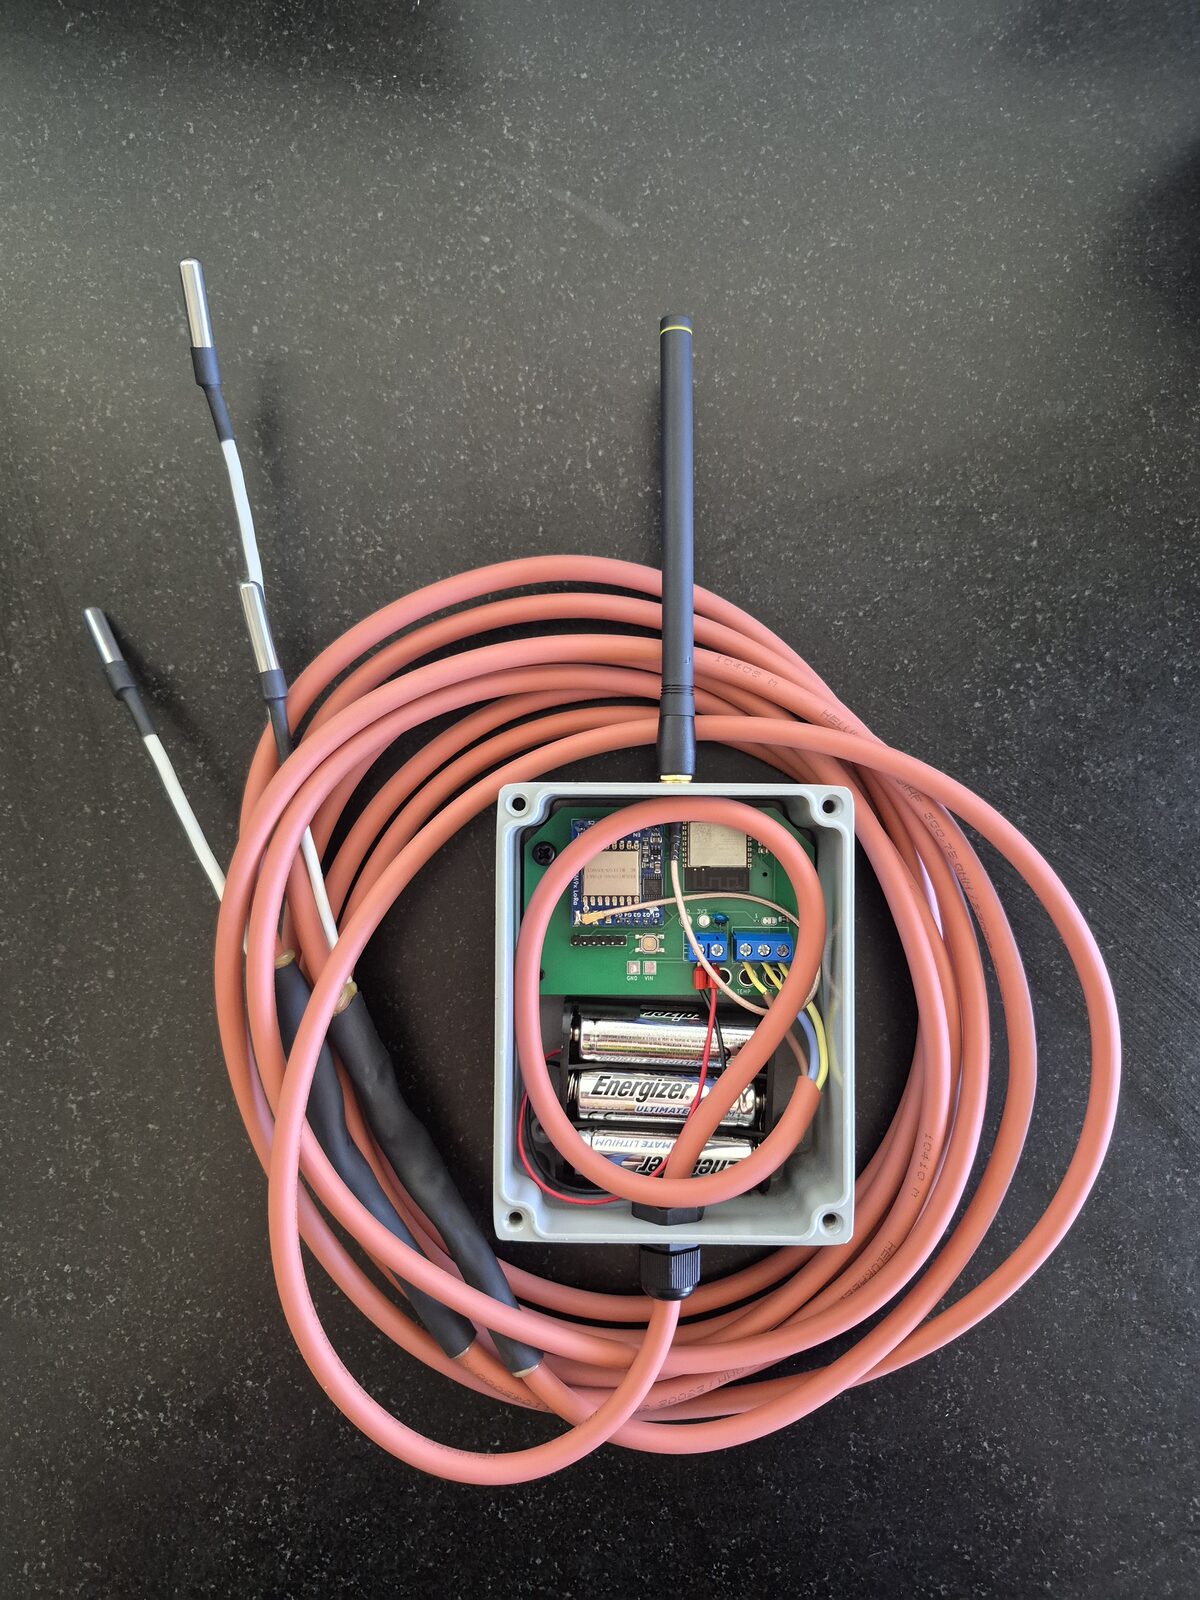
The photos here are from one build of mine, a battery-powered LoRa temperature sensor for agricultural temperature monitoring. It went through all three.
What each one is
- Breadboard. A plastic block with spring clips under a grid of holes. Nothing is soldered, so you build in minutes and change it in seconds.
- Perfboard. A board with holes on the same 0.1 inch (2.54 mm) grid and a copper pad around each one. You solder the parts in and make every connection yourself.
- Stripboard. Perfboard with long copper strips in place of single pads. The strips are your connections, and you cut them where you need a break.
- Custom PCB. A board made for your circuit alone. You draw it in CAD software, and a fabricator sends it back with every connection etched in copper.
Perfboard vs stripboard
Both are permanent and hand-built. They differ in who does the connecting.
On perfboard nothing is connected, so you put parts anywhere and wire them however you like. It's more wire to cut.
On stripboard the strips do a lot of the wiring, and a good layout has very few wires. The cost is the puzzle. Every strip is one electrical node until you cut it. Miss a cut and you have a short.
I'd pick perfboard for a circuit built around a dev board or a couple of modules. I'd pick stripboard for a compact circuit of discrete parts, or when I'm building from a published stripboard layout.
Stripboard vs Veroboard
Same thing. Veroboard is a brand name for stripboard, and the name stuck.
Perfboard vs PCB
A PCB wins on almost everything except time.
The factory makes the connections, so they're identical on every copy. You can use surface-mount parts and a ground plane, and the board can be any shape.
But you have to learn a CAD tool, draw the board, order it and wait. Fabricators sell small batches, so you get several copies even when you want one. And if the design has a mistake, every copy has it.
The real trade-offs
| Breadboard | Perfboard or stripboard | Custom PCB | |
|---|---|---|---|
| Time to first working board | Minutes | An evening or two | Days to weeks, most of it waiting |
| Cost for one unit | Nothing is used up | One board and some wire | A small batch plus shipping |
| Changing it later | Move a wire | Desolder and rewire | Cut a trace and add a wire, or reorder |
| Surviving handling | Poor. Wires pull out. | Good. Everything is soldered. | Best |
| Parts that fit | Through-hole on the 0.1 inch grid | Through-hole, some surface-mount with effort | Anything |
| Current and noise | Worst | As good as your wiring | Best |
Three of those rows need more than a table cell.
What parts fit. Many newer chips only come in surface-mount packages. An SOIC chip has a 1.27 mm lead pitch, half the grid, so it won't drop into the holes. You can solder it to a small adapter board with 0.1 inch pins. Past a handful of those, a PCB is less work.
Current. A breadboard contact is a thin spring clip. It's fine for signals and the wrong place for a motor supply. On perfboard the limit is the wire you choose, so use thicker wire for power.
Noise. Long loose wires pick up interference. For slow signals nobody notices, and audio circuits are built on stripboard all the time. Fast digital signals, radio and switching regulators want short connections and a ground plane. That means a PCB.
One safety note. I'd keep mains voltage off all three hand-built options unless you already know the spacing rules. Buy an enclosed power supply and bring low-voltage DC to your board.
When the perfboard build is the finished product
Often. And that's fine.
Nobody opens the box and grades the wiring. If the circuit works, the joints are sound and the board is mounted so it can't flex or short against the case, it's done.
Go to a PCB when something forces it: more copies, a part that only comes in a fine-pitch package, a tight space, or a circuit fast enough that the wiring hurts it. Otherwise a PCB is extra work for the same result.
The sensor in these photos has a base station, and it's a good example. The sensors went on to a PCB because I needed a fleet of them. I only needed one base station, so it's deployed on perfboard.
Which should I use?
One sensor node for the garden. Perfboard. It's one unit, built around a dev board and a sensor or two. Solder in socket headers so the dev board unplugs. Spend the time you saved on a weatherproof enclosure.
A guitar pedal. Stripboard or perfboard. This is the classic hand-built board as a finished product, and there are published stripboard layouts for many well-known pedal circuits.
A class project. If it only has to work on demo day and the parts go back in the kit, stay on the breadboard. If it has to survive a backpack, move it to a breadboard-pattern board, where the wiring stays the same.
Ten identical boards. PCB. Hand-wiring ten boards is ten chances to put a wire one hole off. Past three or four copies I'd draw the PCB. The sensor in these photos ended that way, with an order of 10 custom PCBs.
Getting from the breadboard to a permanent board
The mistake is copying the breadboard. A breadboard hides half its connections inside the rows, and your jumpers went wherever they reached. Copy the circuit, not the wiring.
- Write down the circuit. A schematic, or a plain list of which pins connect to which.
- Check the pinouts. Look up the datasheet for every chip, transistor and regulator in your hand. Don't trust the lead order from a drawing.
- Test fit the parts on the bare board.
- Lay it out on a grid. Parts first, then wires. List every wire with its length, and every track cut if it's stripboard.
- Build from the list, then beep it out. Track cuts first, then the lowest parts, then the taller ones. Check power against ground with the continuity beeper before you connect a supply.
Step 4 is where a first build is won or lost. Graph paper does the job. So does PerfBoard, the layout tool I built for this step. You place parts on a perfboard, stripboard or breadboard grid, say which pins connect, and route the wires. It flags shorts and unwired connections as you work, and it gives you each wire's cut length and bend points. You can simulate the circuit on the layout before you solder. Simulating, the full cut sheet and the PDF build guide are part of Pro.
Pick the board that matches how many you need and how long it has to last. Then plan it on a grid before you plug in the iron.
More articles
- What is perfboard? A beginner's guide to building on one
What perfboard is, the types (pad-per-hole, stripboard, breadboard-pattern), what you need to build on one, and how first builds go wrong.
- From breadboard to perfboard to PCB: one sensor, three boards
One battery-powered LoRa temperature sensor, built three times: on a breadboard, on perfboard and as a custom PCB. What each stage is for.
Plan your next board on the grid before you solder, or start from one of the builds.